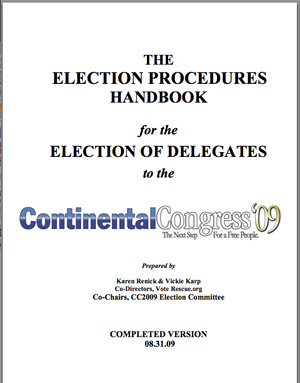
Please find the Election Handbook PDF HERE.
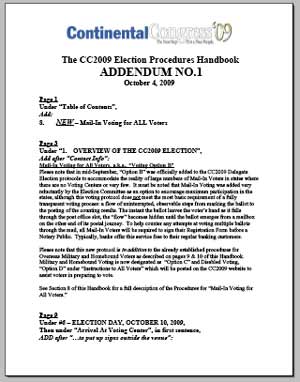
And the Election Handbook Addendum with Tally Form, Result Page, Registration Form, Ballot Box Template for Cutting, and Volunteer Badges pages suitable for printing PDF HERE.
Or click either image below to download the docs.
Description of 25 Photos of Mock Voting Center Table
The photos below are provided more as a visual guide to get you in the ballpark of what the table consists of and how to put a few of the pieces together. Please note that the Mock Voting Center Table you see in the photos was hurriedly “thrown together” and therefore looks that way, especially the signs. You are encouraged to take more time to make your Voting Center Table look better assembled. You are also encouraged to make the Voting Center itself – if allowed by the venue’s owners – look more “election like” with red, white and blue decorations such as balloons, bunting or the like. Election Day is a day of the community coming together to celebrate one of our most precious rights.
For true inspiration, please take the time to view these two wonderful videos of hand-counted paper ballot elections that were filmed in two small New Hampshire towns on Election Day in Nov. 2004: Video 1 Part 1, Part 2 & Video 2.
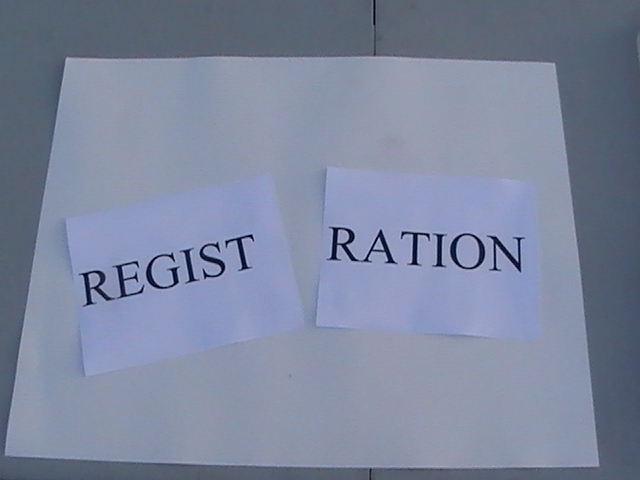
Larger signs can be printed out if the word is broken into segments and printed on two separate pieces of paper that are then pieced together.
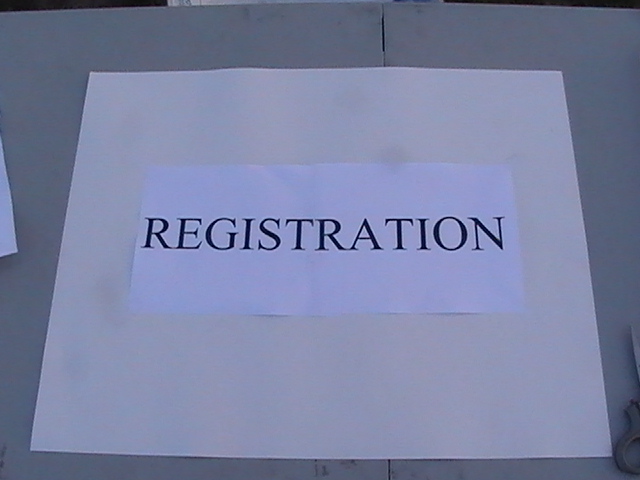
The two halves of the word “Registration” have been taped together and then taped to the larger piece of white poster board. You might have to trim the ends of one of the halves so that the spacing of the letters remains constant once the two halves are pieced together. BTW, the taping shown here is pretty poorly done.

This is one way of letting people know which end of the table they need to go to first. The sign can also be taped (if allowed) to a wall behind the table. Keep in mind, if there are crowds of voters lined up to pick up or hand in their Registration Form, the signs posted as they are shown here will not be readily seen.
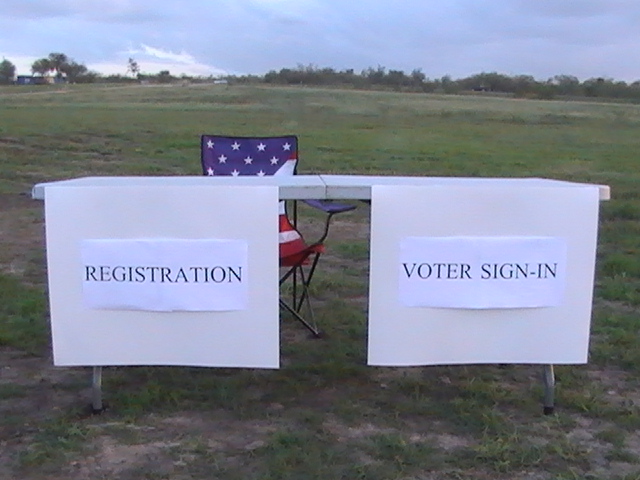
This just shows that the signs, if attached to the table, should be at opposite ends along the front edge of the table. BTW, the table shown is a bit short. An eight (8)-foot long table is highly recommended over a 6-footer.
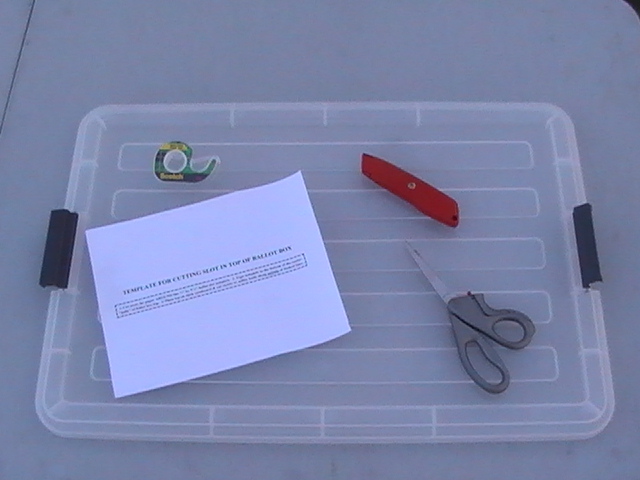
The tools and template needed to cut the ballot slot in the Ballot Box top: scissors, tape and the utility cutting knife. IMPORTANT – PLEASE NOTE: The red utility knife listed on the Office Depot list and shown here will NOT work for cutting the slot. It is the WRONG knife. (My huge apologies! ~Karen) Please return it to Office Depot if possible and select a tool that will do the job of cutting through thick plastic. You are a better judge than I am at this point in selecting the best cutting tool.
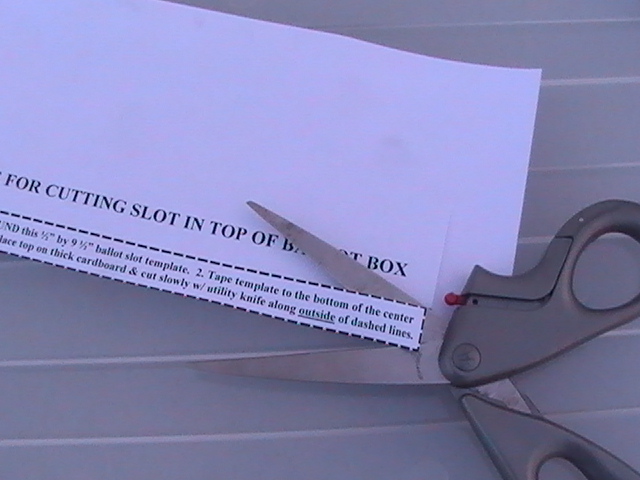
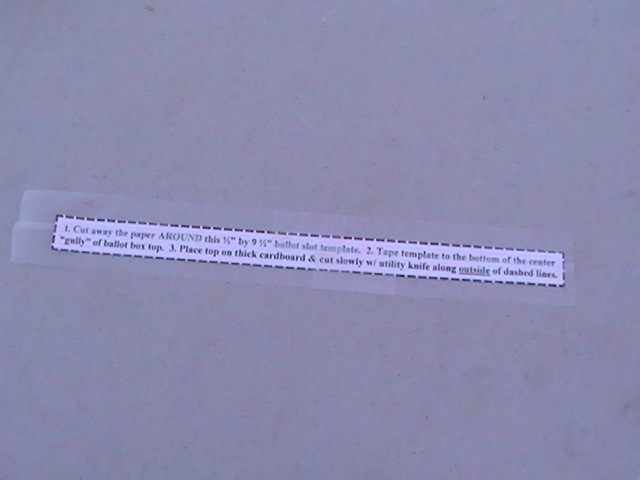
Cut AROUND the template as shown, keeping the ½” by 9 ½” template and discarding the rest of the sheet of paper.
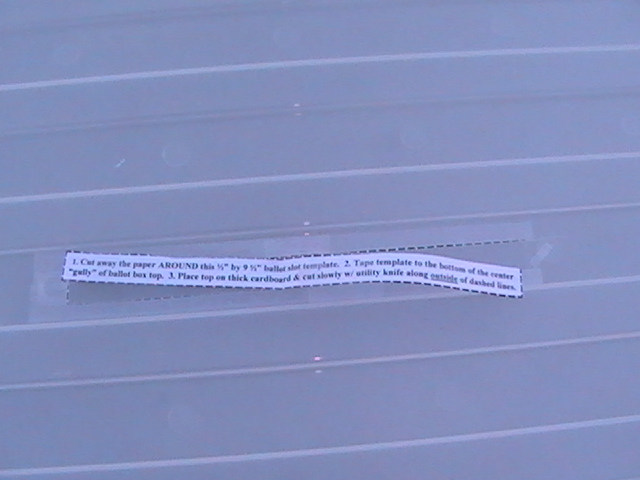
Place the template on a non-stickable surface to put the tape over all four sides of the template so it extends about a half inch beyond the edges. Then peel the template and the tape off this surface for placement onto the Ballot Box top.
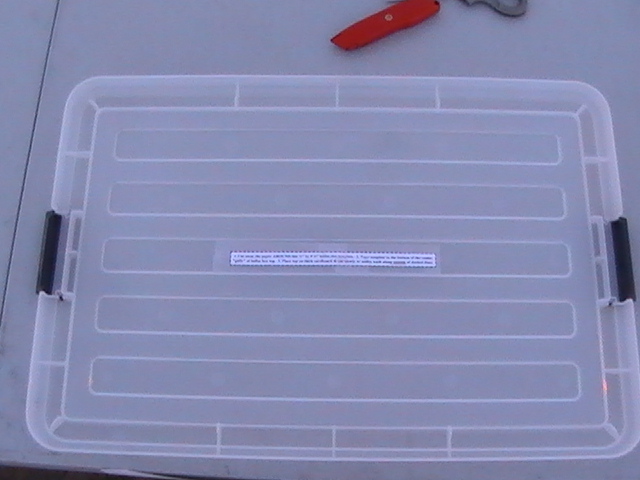
Even though the directions o the template say to tape the template to the top surface of the Ballot Box top, it actually works better to turn the top OVER and tape it to the bottom of the center “gully” centered left to right.
Pulling the SHARP knife blade slowly, make as deep a cut as you can along the outside dotted lines of the template to score the plastic. The template will come off the surface at this point, but you’ll have your score marks to re-cut until the slot is made.
To prepare the Ballot Box for receiving ballots, first inspect the inside to be certain it is totally empty. NOTE: It is important to film this part of the preparation to prove there were no ballot in the box before it was sealed. Also, have the tamper-proof tape and one of the sharpie markers ready to use.
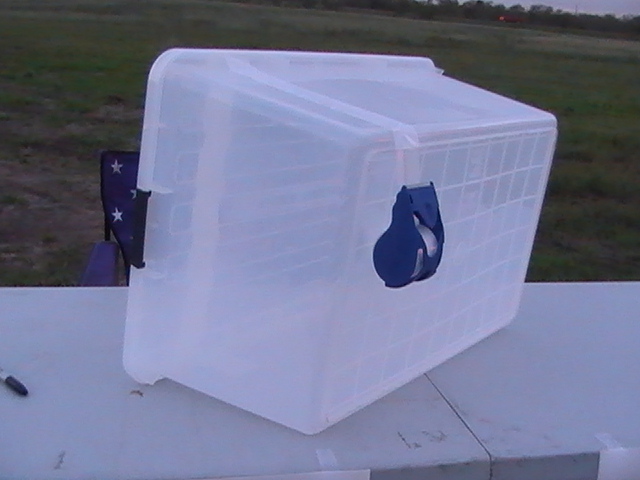
Put the top onto the Ballot Box so it fits tightly and then begin to tape the top to the bottom as shown. When the tape goes across the top, use your fingers to press the tape down into at least two of the “gullies” so that it can be signed across as shown in the next photo.
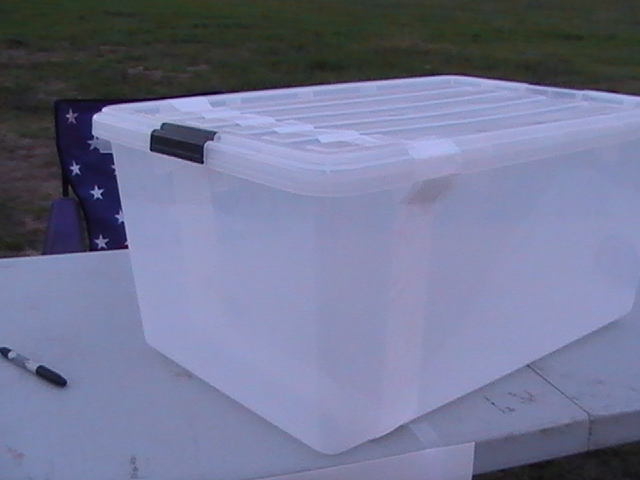
One end of the box is now wrapped with the tape all the way around, overlapping it twice.
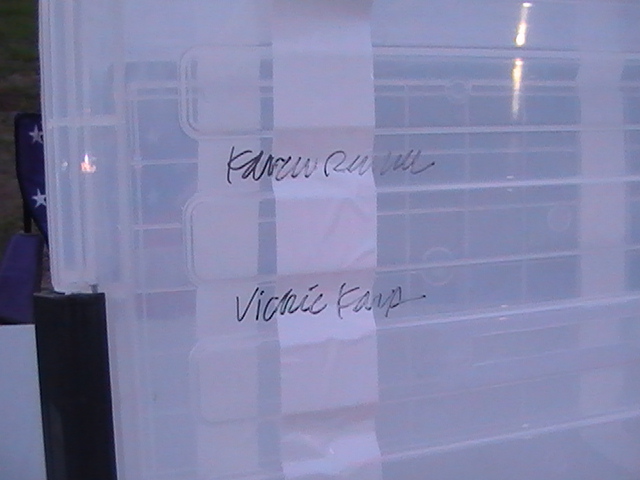
Two Team Members shall sign across the tape as shown. It is very important that the signatures begin on the plastic top, then go onto the tape and then back onto the plastic box.

A close-up of the signature. By writing across both the plastic top and the tape, it makes resealing the top very difficult to look as if there was no fraudulent access. The tape is also supposed to leave marks if pulled away. This function of the tape didn’t work as well as hoped.
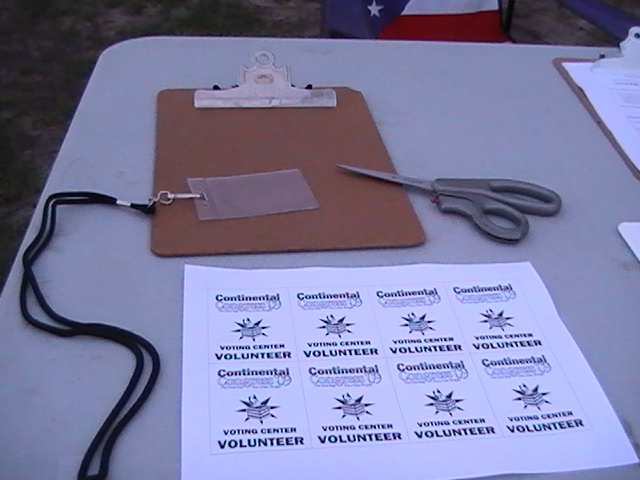
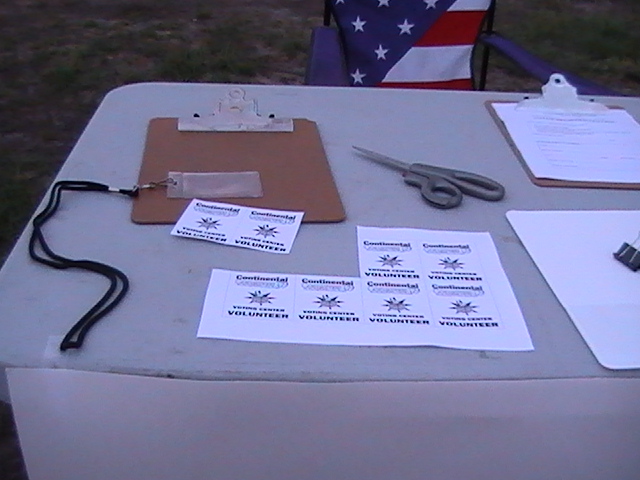
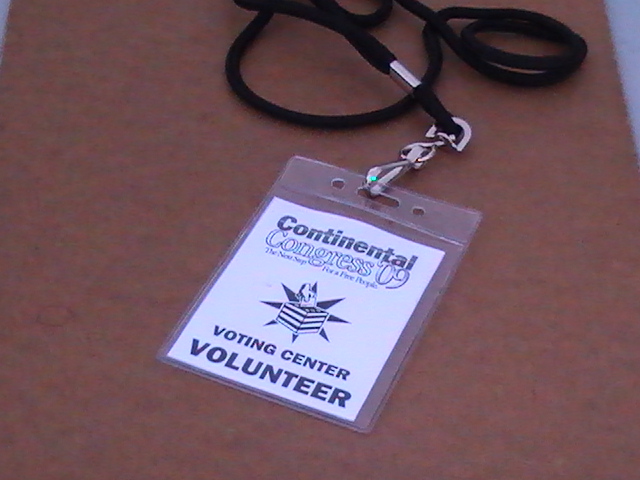
The tools and print out needed to make the badges are shown: scissors, the lanyard with the badge holder clipped on and the sheets of inserts.
To do a back-to-back insert, cut out two of the inserts as shown.
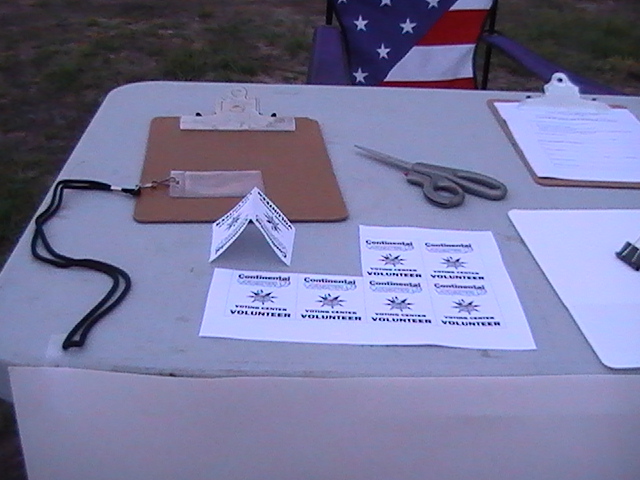
Then fold it in half as shown above.
Voila!

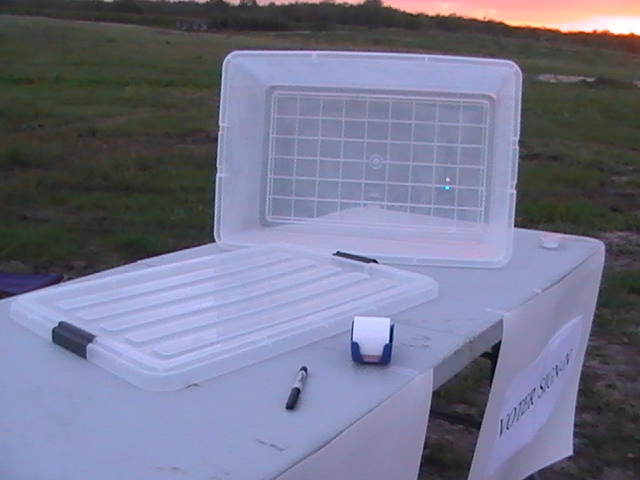
Here is a photo of the table with everything placed on it. If the table is longer, then the Ballot Box may be placed after the Voter Sign-In station. Otherwise, placing it in the middle is best for observing the box.
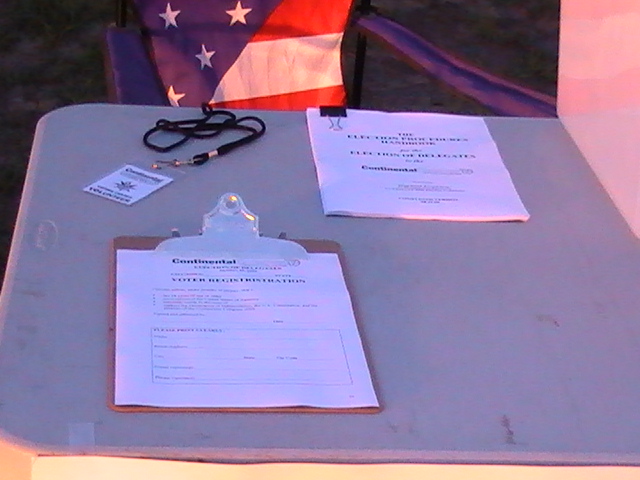
This is a close-up of the left end of the table with the Registration Form on a clip board ready to be handed to a voter. (Pen is not shown but should be handed to the voter with the Registration Form. (The badge and the Election Handbook – with the Addendum and all other alerts – should be there for wearing and referencing, respectively.)
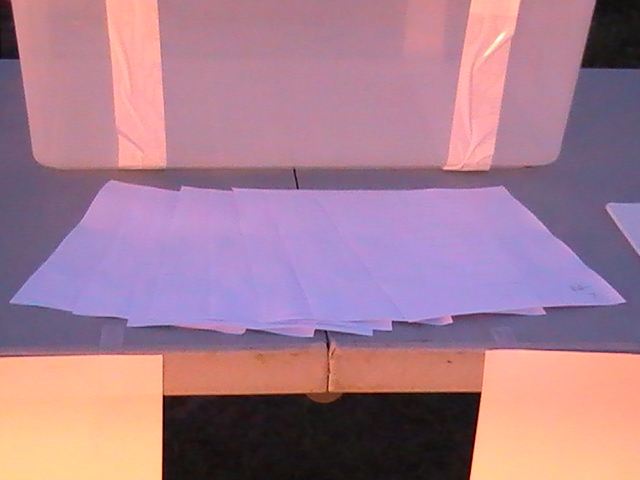
This is a close-up of the way the ballots should be spread out on the table for the voter to randomly select from AFTER they have turned in their Registration Form and signed the Roster. The ballots are face down and spread out not in numerical order, preferably.

This is a close-up of the right end of the table where the voter will turn in their Registration Form and then sign the Voter Sign-In Roster Book. Note that the book should actually be facing the other way so that the Sign-In Volunteer can print the name of the voter right-side up. The voter will sign their signature from their side of the table which will make it upside doen from their printed name.
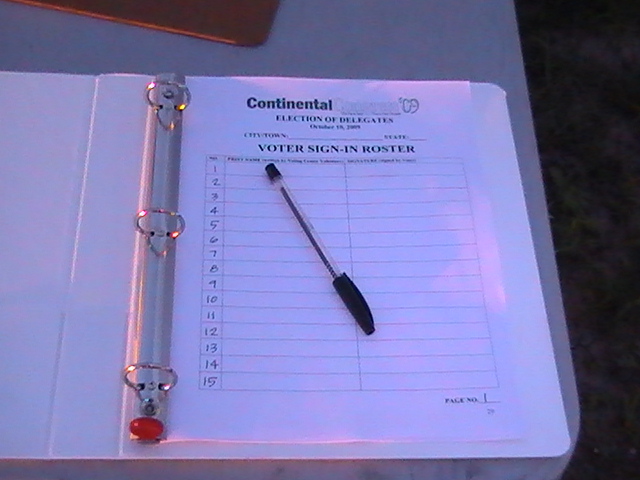
A close-up of the Roster Book showing the page has been numbered by hand and the line have already been numbered, as well.
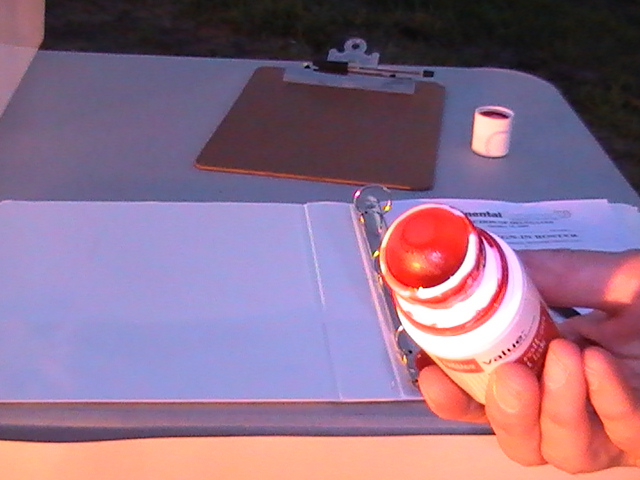
This is a close-up of the red dot applicator with it’s top off.
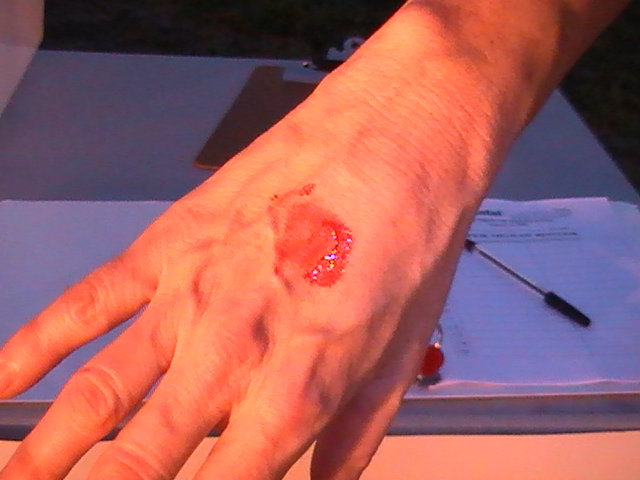
A view of the back of the ‘signing’ hand of the voter with a red dot freshly placed on it. Please offer a Kleenex (not shown) to the voter to blot the excess ink from the mark. PLEASE NOTE: The Voter’s hand should be marked after they have signed the Roster and are about to select a ballot. The Ballot Box Volunteer should keep a close eye to make sure that anyone coming back to cast their ballot into the box after marking it has a red dot on their hand.